How Storage Furniture Is Made: From Board to Flat-Pack Box
 Production & QA·June 4, 2026·12 min read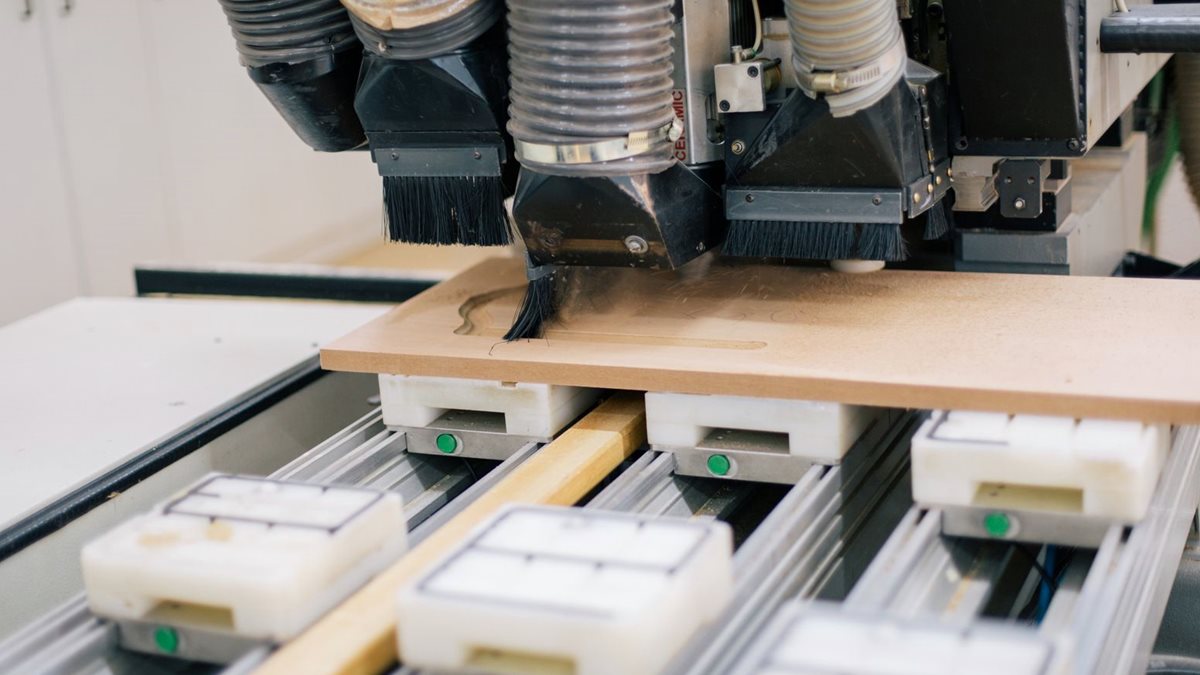
Most people meet a piece of storage furniture twice. Once as a flat, heavy cardboard box that two people carry up the stairs, and once as the bookcase or pantry that quietly holds a corner of their home together for the next decade. Everything that decides which of those experiences you get, whether the shelves stay level under a full row of hardcovers, whether the doors still close flush after two years, whether the whole thing even goes together without a fight, happens on a factory floor that almost no customer ever sees.
I run production and quality control at FACBOTALL, so I spend most of my week on that floor. Here is the walkthrough I wish every buyer could take in person: a single bookcase followed from a pallet of raw board to the sealed flat-pack box on a delivery truck, stopping at each of the seven stages that turn one into the other. Along the way I'll point out the decisions that separate furniture built to last from furniture built to hit a price, because those decisions are invisible in a product photo and obvious the first time you load a shelf.
Why flat-pack, and why it shapes everything
Before the walkthrough, it's worth being honest about the format. Almost all affordable storage furniture is flat-packed and assembled by the customer, and that isn't a shortcut. It's the thing that makes good furniture affordable at all. A fully assembled 82-inch bookcase is mostly air; shipping that air across the country costs a fortune and guarantees damage, because every knock in transit lands on a finished piece. Flat-packing lets us ship efficiently and lets the furniture arrive intact, at a price a normal home can say yes to.
The trade-off is an hour or two of assembly, and the way a good manufacturer manages that trade-off runs through every stage below. Holes have to line up. Hardware has to be right. Instructions have to actually work. A flat-pack piece is really a kit, and the quality of the kit is decided long before it reaches your living room floor. Our whole philosophy, Create a Modern Living, depends on getting that kit right, because a beautiful design that's miserable to assemble isn't modern living, it's a Saturday afternoon lost.
Stage one: material intake, the boring paperwork that matters
A production run starts on a loading dock, not a workbench. Engineered board arrives shrink-wrapped on pallets, hardware arrives in labelled cartons, and the first job is the least glamorous one in the building: checking that what arrived is what we ordered.
That means measuring board thickness rather than trusting the label, and checking moisture content, because board that arrives damp will warp after it's cut and banded, and a warped door that won't sit flush is a complaint waiting to happen. Density matters too: the same nominal board can be pressed to different densities, and a lower-density board holds a screw far worse and sags sooner under load. None of this shows up in a product listing, but it's the first fork in the road between furniture that meets its published shelf rating and furniture that just claims to. When we say a shelf holds a real weight, this intake stage is where that stops being a marketing number and starts being a measurement.
| Material check on intake | Why it matters |
|---|---|
| Board thickness | Sets real shelf strength; thin board bows under load |
| Moisture content | Damp board warps after cutting, doors stop sitting flush |
| Board density | Low density = poor screw hold and early sag |
| Melamine finish quality | Uneven finish chips and peels; even finish resists scratches and water |
| Hardware grade & count | Wrong or missing fixings turn assembly into a nightmare |
Stage two: cutting to size, where a millimetre compounds
Once material passes intake, board is cut to size on panel saws. This sounds trivial and isn't. A bookcase has dozens of panels, and every one has to be cut to a tolerance measured in fractions of a millimetre, because errors compound. If several panels are each slightly off, the assembled carcass sits very slightly out of square, and a carcass that's out of square is one that racks, leans a little under sideways force, and works its joints loose over months. The customer never sees the millimetre. They feel it two years later as a wobble, or the day a door stops lining up.
Good cutting is also about clean edges. A ragged saw cut chips the melamine surface and leaves an edge that soaks up moisture. The cut and the next stage, edge-banding, are really one operation in terms of the finished result: a clean cut gives the banding something to bond to. This is the first place you can feel quality with your own hands once the furniture arrives. Run your thumb along a panel edge; on a well-made piece it's smooth and sealed, on a cheap one it's rough chipboard.
Stage three: edge-banding, the invisible step that decides longevity
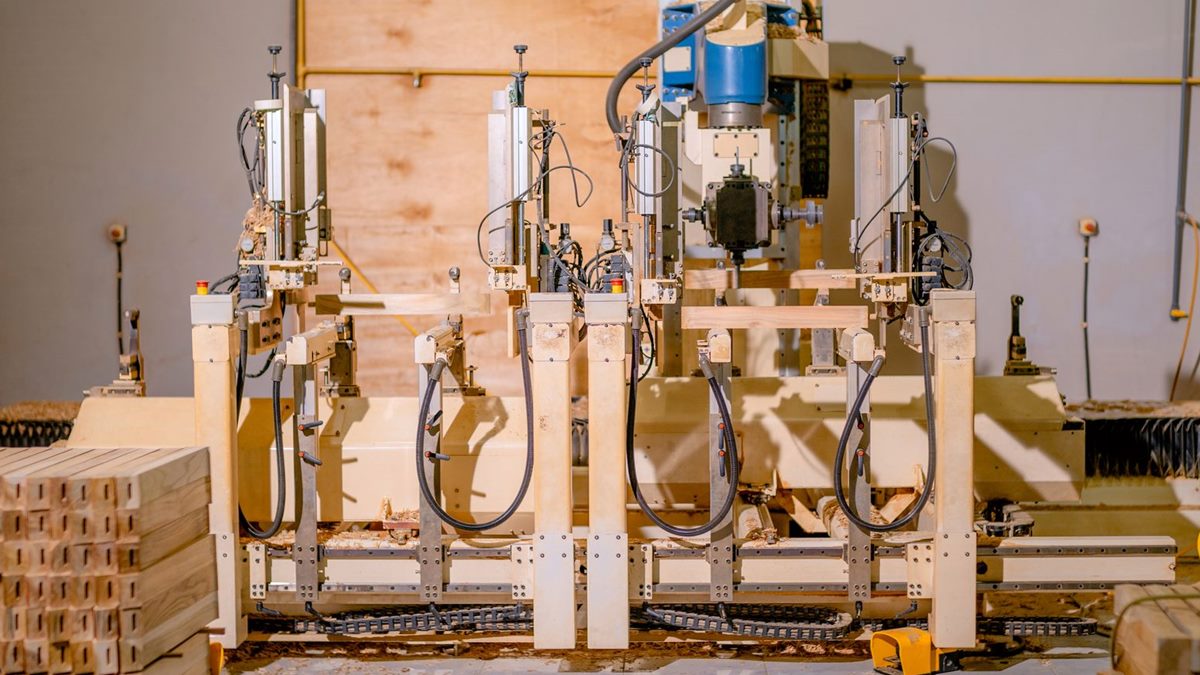
If you remember one thing from this whole walkthrough, make it this stage. Edge-banding is the process of heat-gluing a thin strip of matching material around every raw cut edge of a panel. It is partly cosmetic, but it is mostly protection: an unbanded board edge chips the first time it's knocked and drinks up moisture from a damp room until it swells and crumbles. A banded edge is sealed, smooth and stable.
Here's the uncomfortable economics: edge-banding every edge costs time and material, and it's completely invisible in a product photo. So a factory under price pressure bands only the front-facing edges, the ones you'd see in the showroom — and leaves the hidden edges raw. Those raw edges are exactly where furniture starts to fail: the back edge of a shelf, the inside of a cabinet, the underside of a door. Eighteen months later they've swollen and chipped, long after the sale is banked. On our pieces the edges are banded because we build to the standard we'd want as customers, and because the melamine surface we choose, water- and scratch-resistant, is only as good as the sealed edge that protects it. When you read that a bookcase is built to last, the edge band is a big part of what that means.
You can't photograph an edge band. That's the whole problem with furniture quality: the step that decides how long it lasts is the one the customer can never see in a listing.Marcus Reed, Production & QA
Stage four: drilling and boring: the tyranny of the hole
With panels cut and banded, they go to drilling and boring, making the holes where cam locks, dowels, shelf pins and fittings will go. The demand here is brutal consistency. Every hole has to land in exactly the same place on every unit, because our furniture is flat-packed and assembled by the customer with a printed booklet. If a hole on unit number 400 sits two millimetres off from where the instructions and the mating panel expect it, the customer can't get the fitting in, and a frustrating assembly becomes a one-star review and a support ticket.
This is why holes are drilled on jigs and CNC lines, fixtures that hold each panel in exactly one position so the drill hits the same coordinate every time, rather than marked out by hand. The goal is that the twelfth bookcase off the line and the twelve-hundredth are dimensionally identical, so the instructions that worked for the first customer work for every customer. When people say a flat-pack "just went together," they're complimenting a jig they'll never see. Adjustable-shelf pieces get a whole ladder of pin holes bored at this stage, which is what lets you reconfigure a tall bookcase with doors around taller books later.
Stage five: finishing and hardware fitting
Now the piece gets the details a customer actually interacts with. On melamine furniture the surface finish is already on the board, so finishing here is about the parts: fitting hinges, drawer glides, handles, and the concealed cam-and-dowel fittings that hold the carcass together. Each of these is a small quality trap.
Take drawer glides on a dresser. A drawer that rolls smoothly out of the box but binds after a year is almost always a glide that was under-specified to save money. We choose glides rated for tens of thousands of cycles and test them, because a dresser drawer gets opened several times a day for a decade. Or take hinges on a cabinet door: a cheap hinge loses its adjustment and the door drifts out of line, while a good one holds its setting and can be re-tuned with a screwdriver. And the anti-tip hardware — the bracket and strap that anchor a tall piece to the wall, is fitted and bagged at this stage as standard, not sold as an afterthought, because a tall bookcase or dresser that isn't anchored is the one genuinely serious safety risk in the whole category.
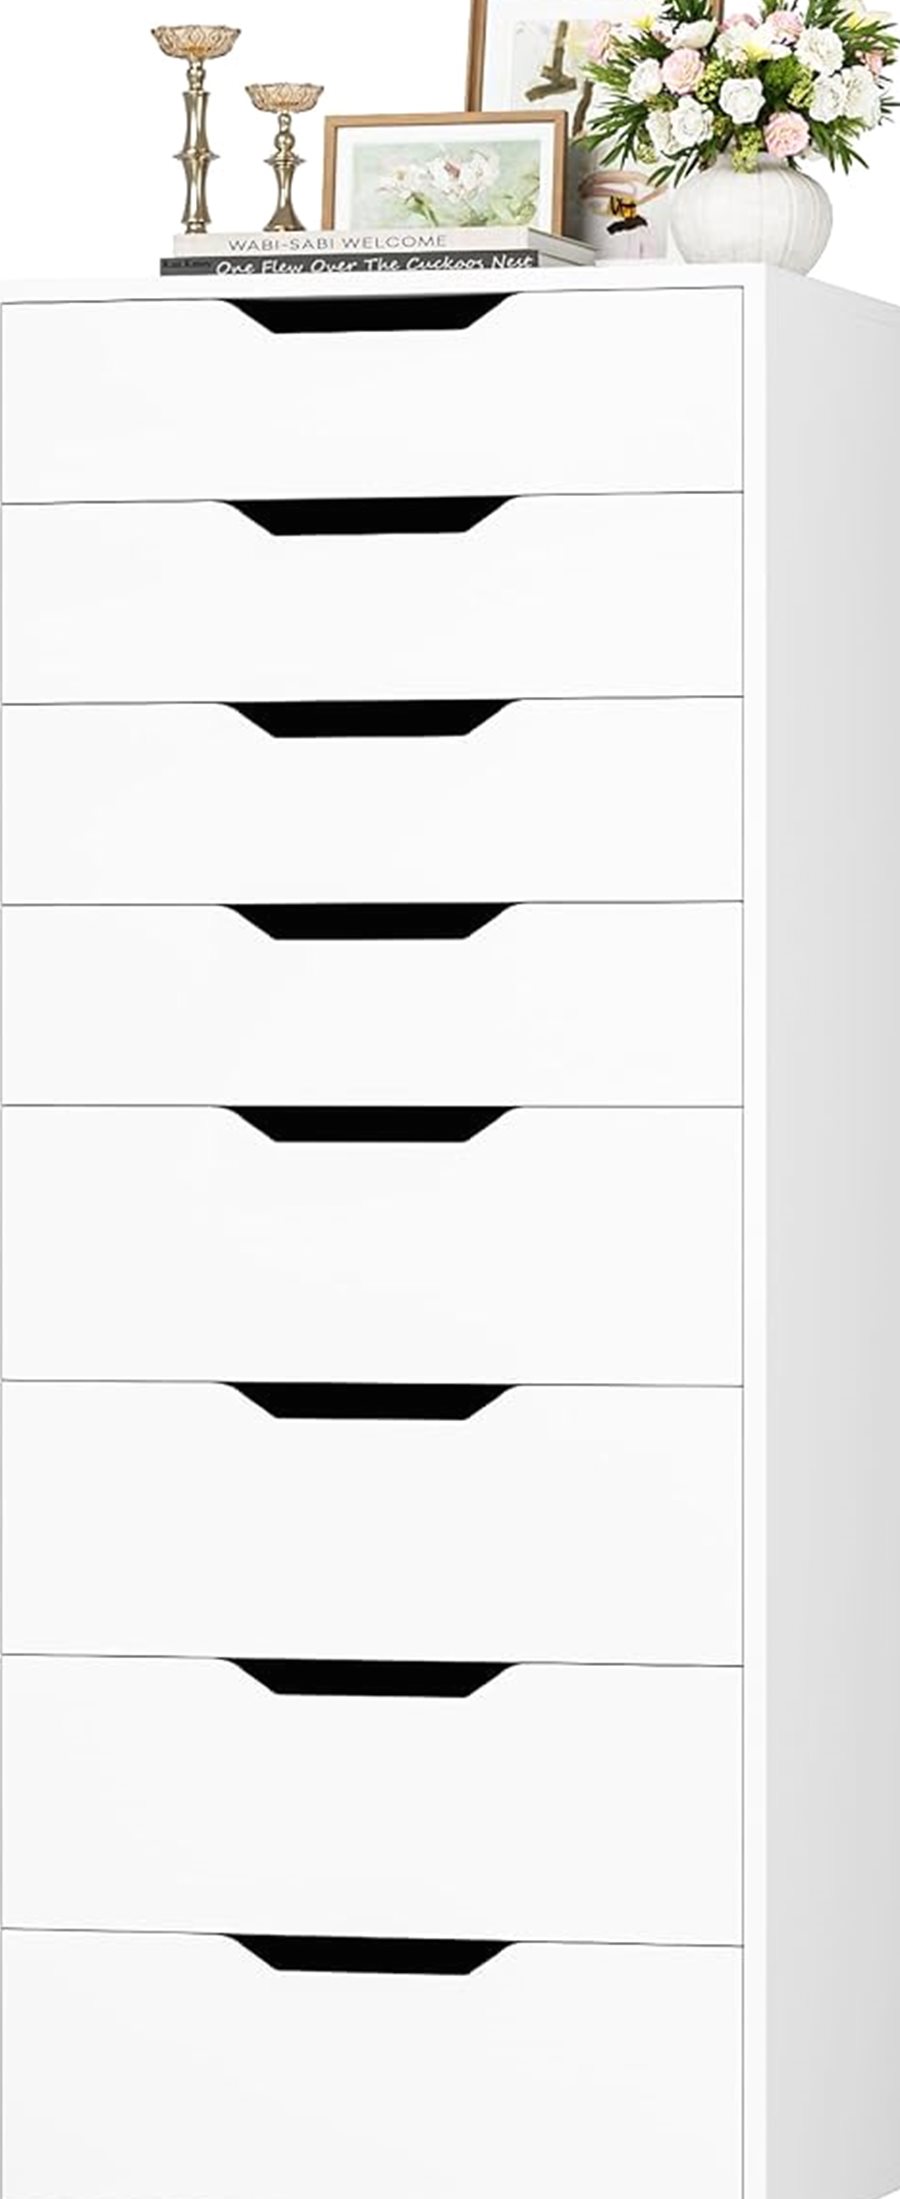
Tall 8-Drawer Dresser, Groove Handles, White
A piece where stage five earns its keep: eight drawers on glides that have to stay smooth for years, plus the anti-tip hardware fitted as standard. The finish is on the board; the quality is in the parts.
View details & specs →Stage six: the sample test-build (the stage cheap furniture skips)
This is my favourite stage and the one I'd defend hardest in a budget meeting. Before a production run is cleared to ship, sample units from that run are taken to a bench and fully assembled, exactly as a customer would assemble them, from the flat-pack parts and the printed instructions. Then they're checked: does the carcass sit square, or does it rack? Do the drawers align and roll? Do the doors close flush? Does the shelf sit level and hold its rated load without deflecting? Do the holes line up with the instructions without a fight?
A full test-build is slow and it consumes a finished unit. Hence the furniture at the very bottom of the market skips it — those makers inspect parts, not assembled pieces, and let the customer's living room be the test bench. The trouble is that some faults only appear on assembly. A hole that's fractionally out, a door that needs its hinge adjusted, an instruction step that reads clearly to the person who wrote it but confuses everyone else — none of those show up while the parts sit in a box. Catching them here, on our bench, is the entire point. The test-build is also where our instructions get better: a step that trips up our own builders is a step we rewrite before it ever ships. It is why newer models genuinely go together more easily than older ones.
The bottom of the market lets your living-room floor be the test bench. We'd rather find the problem on ours: it's cheaper for everyone in the end, especially you.Marcus Reed, Production & QA
Stage seven: packing, because a great piece can still arrive broken
The last stage decides whether all the work upstream survives the journey. A bookcase can be flawless and still arrive as a one-star review if it was thrown in a box with no thought. Flat-pack furniture takes a genuine beating in transit, dropped, stacked, driven over rough roads, so panels are protected at the corners where impacts land, the numbered hardware is bagged so nothing rattles loose and scratches a surface, the tools are included so nobody's hunting for an Allen key, and the instruction booklet goes in on top.
The numbering matters more than it sounds. When hardware is bagged and labelled to match the instruction steps, assembly becomes a sequence anyone can follow. When it's all thrown in one bag, the customer is doing a sorting puzzle before they can even start. It's a small, cheap decision that shapes the first hour someone spends with our furniture: the hour that decides whether they'll ever recommend it. For a large piece like a triple-wide bookshelf that ships in more than one carton, the packing and labelling are what keep that first hour from turning into a jigsaw.
What all of this means when you're choosing furniture
You'll never watch your specific bookcase being made, so the practical question is: how do you read the stages you can't see from the things you can? A few of the invisible decisions leave visible fingerprints, and they're worth knowing.
Run your thumb along a panel edge: sealed, smooth banding tells you stages two and three were done properly. Open and close a drawer if you can: a smooth, quiet roll points to a glide specified for the long haul. Look at whether anti-tip hardware is included as standard rather than sold as an add-on, because a maker confident in its build includes the safety parts by default. And read what a brand says about testing to its published shelf ratings; a real rating comes from a load test, a fake one comes from a copywriter. On every one of our product pages the specifications reflect the stages above, not a wish list.
| What you can check | What it tells you about the hidden stages |
|---|---|
| Panel edges feel sealed and smooth | Cut and edge-banded properly (stages 2–3) |
| Drawers roll smoothly and quietly | Glides specified and tested (stage 5) |
| Doors close flush and stay aligned | Jig-drilled holes + adjustable hinges (stages 4–5) |
| Anti-tip hardware included as standard | Maker takes safety and its test-build seriously (stages 5–6) |
| Specific, published shelf rating | Shelf was load-tested, not copywritten |
| Bagged, numbered hardware + clear instructions | Packing stage was taken seriously (stage 7) |
The reason we build the way this article describes is simple and a little selfish: it's the standard we'd want as customers ourselves, and it's far cheaper to get a piece right on our floor than to replace it after it fails on yours. If you want to see the furniture these seven stages produce, the full FACBOTALL range is the place to start. To go a level deeper into what the board, finish and hardware actually are, read the companion guide to furniture materials and finishes. And when you're ready to judge a specific piece, our guide to reading furniture quality before you buy is the natural next read.
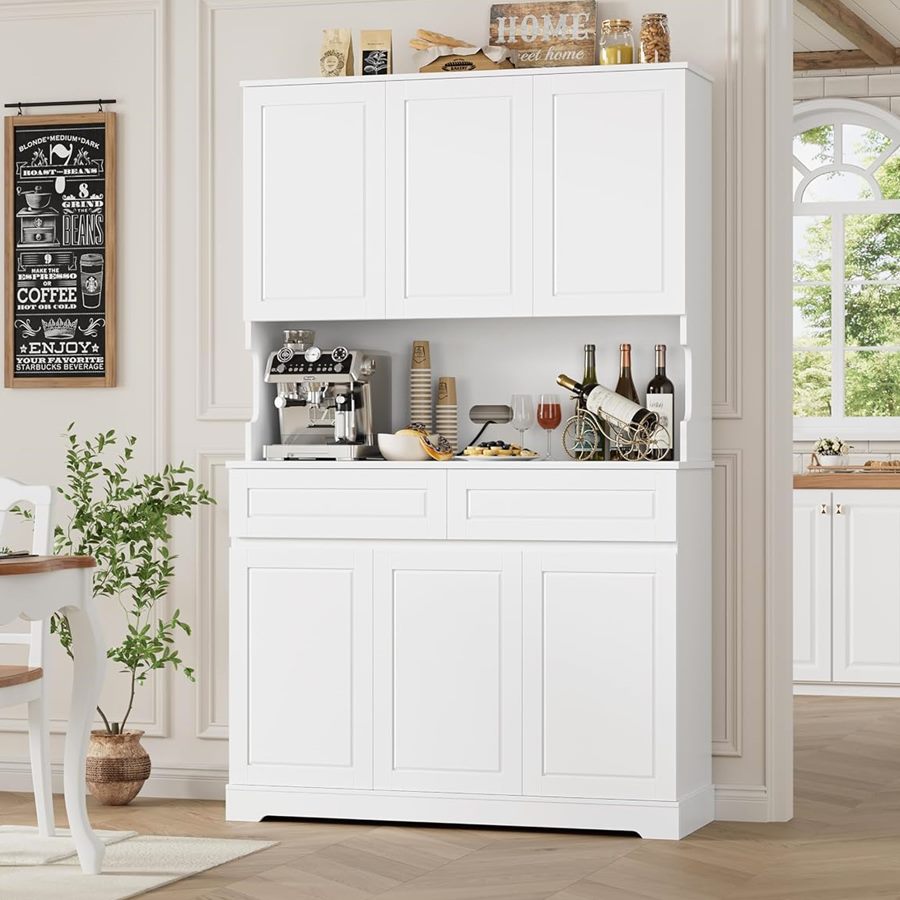
74" Kitchen Pantry Cabinet, 6 Doors & 2 Drawers, White
A pantry is the ultimate test of every stage above: a wide carcass that has to stay square, doors that must line up, drawers that have to glide, and a countertop that has to sit dead level. It's the piece we point to when people ask whether our process actually shows.
View details & specs →Marcus Reed
Production & QA · FACBOTALLPart of the team behind FACBOTALL's storage furniture. Read more about how we work, or browse the full range.